Showing posts with label condensed milk. Show all posts

Tuesday, 20 September 2016

Raspberry Icecream - No Churn


After the success of my first no churn ice cream (passionfruit and mango), I thought I'd have another go with a different fruit. I had been to a 'pick your own' farm last week and got a huge stash of strawberries and raspberries to make jam, and I had some left over raspberries.

So here is my raspberry no churn ice cream! It's very rich, so a scoop or two at a times is plenty.


Raspberry Ice Cream
Ingredients:
1 x 397g tin condensed milk
500ml (2 cups) double cream
300g raspberries (fresh or frozen)

Method:

1. Warm the raspberries up in a small saucepan to soften and release the juices. Then mix in a blender/food processor to make a puree.
2. Place the condensed milk and raspberry puree in a bowl and mix until well combined.
3. Whip the cream until soft peaks form. Gently fold it into the raspberry mixture until there are no streaks remaining.
4. Pour into a loaf pan and cover in cling film. Refrigerate for 4 hours.
5. To serve, let it stand in room temperate for a few minutes so it is soft enough to scoop.

It's as simple as that!


NOTE: You can use most fruits to make this ice cream. The last one I used 1 ripe mango (puree'd) and the flesh of 2 ripe passionfruit. It was amazing, will definitely make that one again!

Wednesday, 20 July 2016

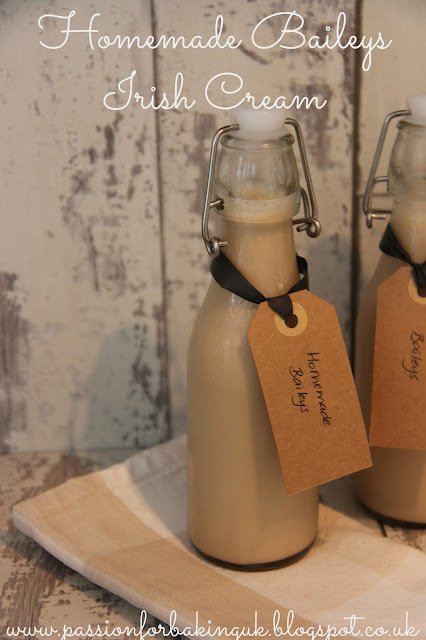
Homemade Baileys Irish Cream


It's that time of the year again....end of the school year, 'Teacher Present Time'! My son is leaving his school at the end of this week, and moving up to Juniors. Over the last 4 years I have added something homemade into each gift time, at Christmas and end of year. They have ranged from macarons, biscuit tin selection, hot fudge sauce (that was a winner!), marshmallows, passionfruit curd and a few other bits and pieces.

This year I did booze. Who doesn't love a boozy gift? I've been wanting to make this Baileys Irish Cream for a while now. I got the idea from Lucy over at Bake. Play. Smile, a fabulous Aussie food blogger. You can link straight to her recipe, or I will add it below.

Beware: this has a bit of a kick to it. To make it less potent, reduce the amount of whisky.


Homemade Baileys Irish Cream
Taken from Bake.Play.Smile

Ingredients:

375ml (1 2/3 c) Irish or Scotch Whisky
397g tin of condensed milk
250 ml (1 cup) double cream
1 tsp vanilla extract
1 tsp instant coffee powder/granules
3 Tbsp chocolate sauce

Method:

1. Combine all the ingredients into the jug of a multispeed blender. Turn to medium to high speed for 20 seconds until all ingredients have combined.
If the cream starts to curdle slightly, reduce the speed and gradually build up again. Alternatively, if it has curdled, strain the liquid through a sieve, allow the strained mixture to settle and remove the froth from the top.
2. Pour into sterilised bottles, seal and store in the fridge.
3. This can stay in the fridge unopened (as if!) for two months.

Note: 
  • I bought some chocolate sauce from Marks & Spencer but you could any ice cream sauce. 
  • This makes about 1 litre of Baileys.
  • I originally made this with double cream but when tasting it over the weekend, my sister-in-law and I decided it was a bit too thick, so I thought about changing to single cream. However after talking with another friend who DID use single cream, she said it was too thin. So my final conclusion is....keep it double, shake it before pouring and drink over ice, which as it melts will thin it slightly.


Enjoy over crushed ice or poured over vanilla icecream.


Sunday, 21 June 2015

Hot Fudge Sauce


If you are looking for a quick sauce to make for pudding, or as a gift, look no further!  Everything I seem to write about lately has the word quick in it. There's a reason for that. I have a 'proper' job, and baking is just my hobby on the side.
My day job, as a teacher at a very busy London school, takes up a great deal of my time outside school as well. So most of my baking is done late at night, or squeezed in around other things. Like this fudge sauce. I am supposed to be writing reports - it's almost the end of year, and school reports go home to parents on the final day. These reports I'm working on today, are due tomorrow. Typical. So, what do I do....perfect my fudge sauce!

I first saw this on Pinterest ages ago and had forgotten about it actually until my wonderful friend David asked me about it. So we have been testing it out in our respective kitchens. The first time, well, it didn't work. I followed the recipe to the tee. So, after experimenting and tweaking it, here is the final recipe and it truly is to die for.

I have decided to give it as 'teacher's gifts' at my son's school this year. Presented in these cute little jars, they look great. Last year I made some passionfruit curd and gave those and that was so well received that I thought I would do similar but different. (If you are one of said teachers reading this, act surprised!)


Note: the first time I made this I used good quality 70% dark chocolate. When it set in the fridge, the cocoa butter solidified. This time I have used a lower % chocolate - 54% -  and it's worked a dream.

Anyway, this recipe takes 5-7 mins to make. Yes, that's right...it's SOOO quick.


Hot Fudge Sauce
Makes about 2.5 cups

Ingredients
  • 1 397g can condensed milk
  • 200g chocolate - I used Sainsbury's Belgium dark cooking chocolate
  • 110g butter

Method:
  1. Melt the butter and chocolate over a medium heat in a saucepan on the stove, stirring.
  2. Add the full tin of condensed milk, stirring as you add and until it is combined and looking rich in colour. Keep stirring as it warms up and combines, to keep it thick and glossy. It might take a few minutes for the butter to combine in properly.
  3. Pour into the jars, or another airtight container. This can be stored in the fridge and taken out and heated in a microwave before eating.
Serving ideas: drizzled over vanilla ice cream, in a milkshake or even in a pot to dip strawberries into!
Variations: David added some Bailey's to his and said it was amazing. You can also add a few drops of vanilla or a favourite liqueur.


Sunday, 26 April 2015

Passionfruit 'Cheesecake' - without the cheese!


Let me start by saying this is absolutely delicious! Truly. It is made up of some of my favourite flavours, lemon and passionfruit. And to top it off, there's no cooking involved!!

This dish is one I have always loved and the recipe came to me again this week via facebook. I don't think it is 'owned' by anyone, but it's a popular Australian dessert. Passionfruit itself is one of the most popular flavours in Australia, so much so that you can even buy it tinned. That is what I used for this as passionfruit are not in season right now here in the UK. I have a dwindling stash of the tins, and I use them sparingly. Well worth it for this though!


So I had to play around with this a little as the recipe I originally had was a little ambiguous about the gelatine, but with some brilliant advise from the Aussie mum of a friend (thanks Sandra!!), it turned out perfectly this time. You just won't believe how easy it was!!

By the way, the original recipe was a tray bake, with the base made of plain biscuits laid out covering the bottom of the pan. In Aus, use scotch fingers, in the UK I used malted milk biscuits. Any plain biscuit can be used. This time, however, I wanted to make it like a cheesecake to serve at a friend's house, so I crushed the biscuits and mixed with melted butter to make a more traditional base that would go into a round tin.
The second time round I made it smaller - normal sized, and had a bit of spare everythign to make these little glasses of pudding - 4 of them.

Anyway here is the recipe.....

Passionfruit Slice/'Cheesecake'
Serves 12-16

Ingredients:
1 x 250g packet of plain biscuits
1 x 395g can sweetened condensed milk
1/2 c (125ml) lemon juice
2 teaspoons gelatine dissolved in 2-3 tablespoons of  boiling water
300ml double cream
2-3 fresh passionfruit (they are best eaten when the outside is wrinkled) or 1/2 tin of passionfruit pulp
100g melted butter (if you are making the traditional crushed biscuit base)

Method:
1. Line a baking tray or springform pan with baking paper. If using a square/rectangular tray, lay the biscuits out to cover the bottom of the tray.
2. If using the round springform pan, blitz the biscuits in a food processor until finely crumbed. Add melted butter and mix to a wet sand consistency. Press firmly into the base of the pan and smooth over to make it even. Place in the fridge for 30 mins.
3. Meanwhile, sprinkle the gelatine over the boiled water and mix until dissolved. If it is looking thick, add a little more water.
4. Whip the cream until very soft peaks form. Add in the rest of the ingredients (lemon, condensed milk, gelatine) and whip a few more times to combine. Mix gently, you need to make sure it is well combined but not too thick.
5. Spread the mixture over the base and smooth the top with an offset spatula. Spoon the passionfruit pulp on top and refrigerate until set, preferably over night.

Note: I doubled the ingredients to make the cake/slice in these pictures. It's tastes just as good with the quantities, but not as high.


Trust me, this is soooooo good!

Sunday, 31 August 2014

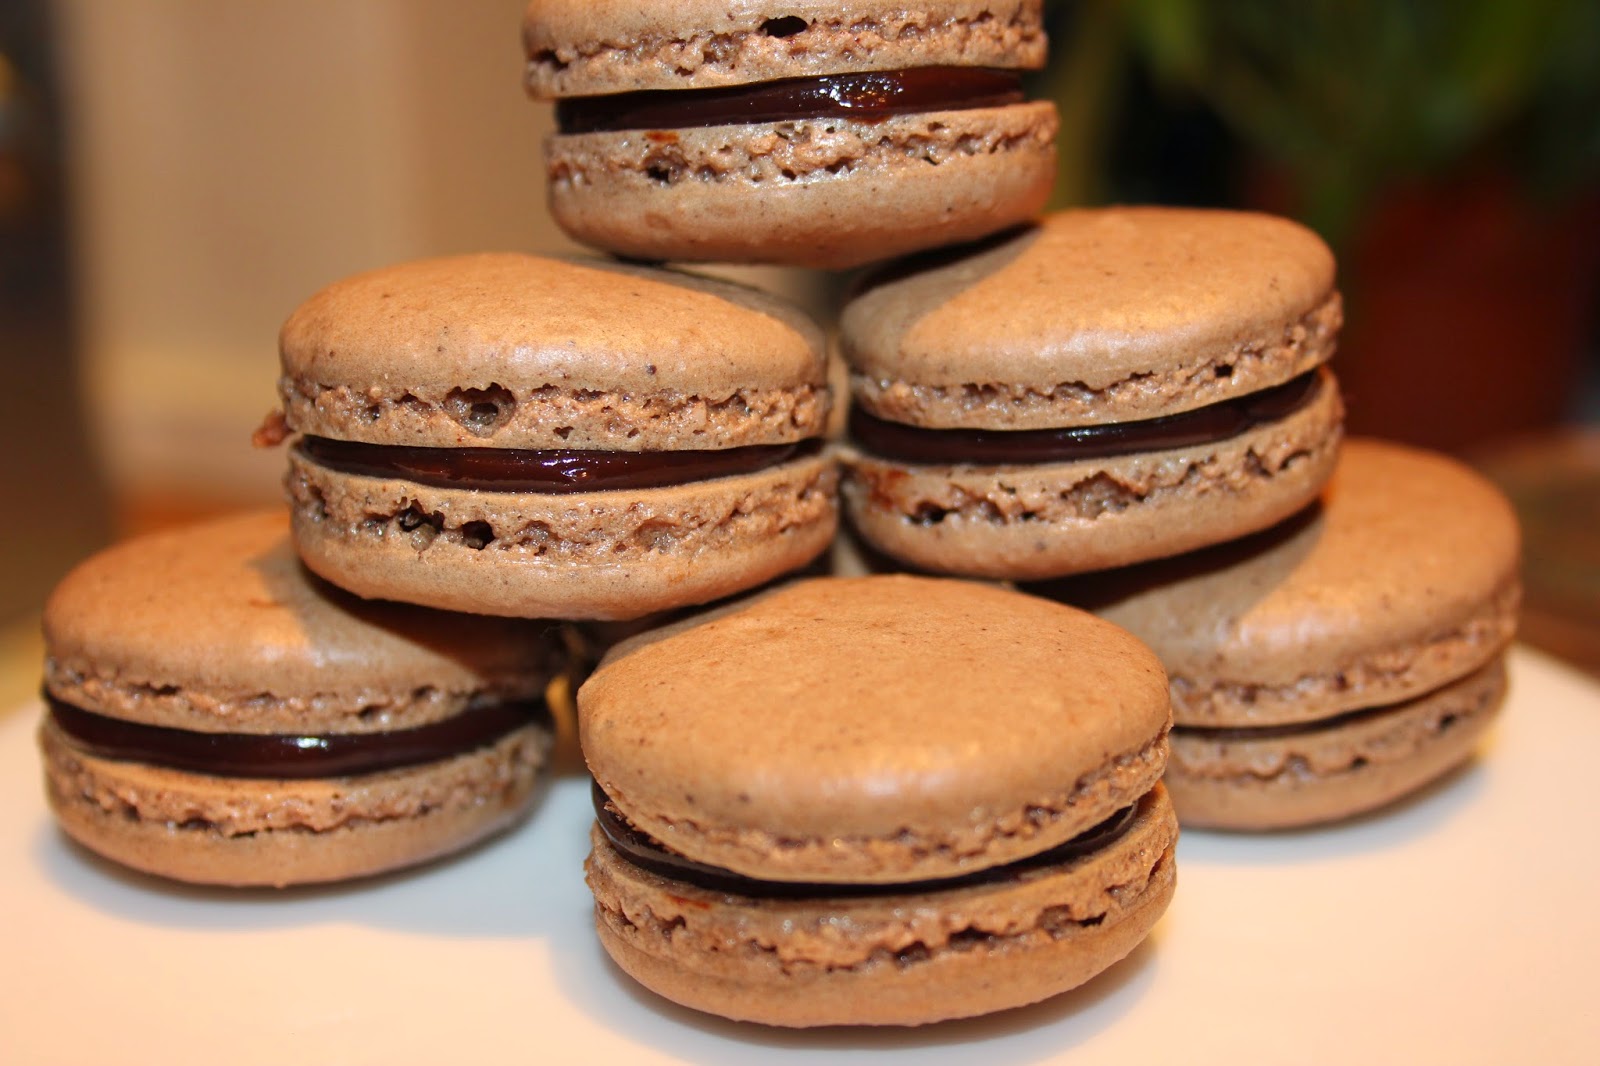
Chocolate Caramel Macarons


A mouthful of delicate deliciousness


I love macarons - anyone who knows me, knows that. I have been making them for a couple of years now, with mixed results. The thing to always remember with macarons, is that whether they work or not, they always taste good.
I had stopped making them a while ago after a few failed batches - when I say failed, to my super critical eye, they didn't work, but to my loyal taste testers, they were fine! I was convinced my oven was not working well enough for such a delicate treat.
Anyway this week I decided to try a new recipe and see how it went. I must say, I was so thrilled when they turned out perfectly. And taste oh so goooood.

 
I'll show you some of the steps I did to fill the macarons, as I have used a combination of flavours. I made a dark chocolate ganache, which I used on the outside of the filling, and then I used pre-made (gulp!) caramel. I thought about making my own but I love the Carnation Milk caramel. The problem it, it is too runny to use on it's own, so that's why I used the ganache to hold it in. The result is a really lovely combination of flavours, with the gooey caramel being the little surprise inside!


Remember to put your filled macarons into the fridge in a sealed container for 24 hours; this process helps the flavours to develop. Macarons are best eaten after being out of the fridge for about an hour.


Chocolate Caramel Macarons

Makes about 35 whole


Ingredients:
 
100 grams ground almonds (I actually use about 110g to then allow for large bits that can't be sieved)
100-110g egg whites (about 3 egg whites)
15g cocoa powder
185g icing (powdered) sugar
4 tablespoons caster sugar
 

Method:
  1. Preheat the oven to 150° C.
  2. Push the ground almond through a sieve to get rid of any large pieces or lumps.
  3. Mix the icing sugar and cocoa powder together with the ground almonds in a food processor. I do this twice - sieve, food processor, sieve, food processor.
  4. In a large bowl, whip the egg whites with a hand- or stand mixer. As the egg whites start foaming, add the sugar one tablespoon at a time and continue whipping until the mixture is glossy and stiff. You should be able to hold the bowl upside down without the meringue sliding out.
  5. Fold the dry mix carefully and slowly into the meringue, use a spatula. Add food colouring if desired until fully mixed. Don't overmix! You want the mixture to fall off the spatula like lava.
  6. Fill your piping bag and pipe the macarons onto a baking sheet. Let them set for 60 minutes to form a dry skin.
  7. Bake for about 14-16 minutes. Let cool completely, then fill with piped chocolate ganache and caramel and sandwich them together.