Showing posts with label coconut. Show all posts

Sunday, 12 July 2015

Coconut Angel Food Cake


I have been wanting to make an angel food cake for a while now and impulse purchased a Nordic Ware tin a couple of months ago. I had never even eaten one before, but really likes the lightness of how they looked.

Anyway, before you have a go yourself, and I hope you do, just know this cake itself takes 12 egg whites! I started by using Aldi's free range eggs, but their shells were so fragile, the separating was painfully tricky, so I switched to some Sainsbury's free range, and they were much for reliable. Of course if you have your own chickens, you'll have a ready supply.


The recipe I used for the cake can be found on the I am Baker website. I only had a few drops of coconut essence left so my cake was not as coconut-y as I would have liked, and I didn't put that cream coating on it either. I decided to add a marshmallow frosting that I have used before, with shredded coconut on top.


To make this cake, I assumed you needed the special angel food cake tin and I bought the one from Nordic Ware as it was recommended and comes in two parts. It's a nifty tin, as you need to invert the cake once it comes out of the oven, and it has three legs which means they support it fully while it cools. It was also easy to get out of the tin; I ran a palette knife around the edge and then on the base too.

So a couple of things to note when making this cake:

  • Do not grease the pan - at all.
  • Be careful when mixing to keep the egg whites full of air.
  • Add flavour to the mix if you want but be careful not to lose any of the air - the cake itself is not bursting with flavour - it has a very light, almost dry, spongey texture.
  • As soon as it comes out of the oven, invert it on the bench, the legs on this pan will support it - leave it upside down until completely cool.
  • Use a palette knife to loosen it from the edges before taking out of the pan.


Good luck and enjoy! K x


Monday, 8 June 2015

Lamington Slice Cake


As you may already know, lamingtons are my favourite cake of all time. So after receiving two bags of shredded coconut recently, and after a suggestion from an old school friend, I decided to make Donna Hay's lamington cake slice today. I wanted something I could whip up quickly...and here it is!
I have made some slight changes to the original recipe as I didn't want to use cow's milk as my son is allergic, so I have substituted with two types of coconut milk. 

Apparently you should put the cake in the fridge to set before cutting. I couldn't wait and cut it up straight away and had a massive piece for lunch! THAT'S how good it is....

Anyway here is the recipe...I urge you to try it, it's so yummy. 


 Lamington Slice Cake
Adapted from Donna Hay


Ingredients:
For the cake
125g unsalted butter, softened
275g caster sugar
2 teaspoons vanilla extract
2 eggs
260g plain flour
1 1/2 teaspoons baking powder
185ml coconut milk (from the carton in photo above)

20g shredded coconut (or desiccated if you can't get shredded)

For the chocolate icing/ganache
125ml coconut cream (from the can - shake to combine)
300g dark chocolate
1 tablespoon icing sugar


 Method:
1. Preheat the oven to 160C. Place the butter, sugar and vanilla in the bowl of an electric mixer and beat for 5 mins or until pale, creamy and fluffy.
2. Add the eggs, one at a time, beating well after each addition. Add the flour, baking powder and coconut milk and beat on low speed until combined.
3. Spoon the mixture into lightly greased 20cm x 20cm tin lined with baking paper and spread evenly.
4. Bake for 35 mins or until cooked when tested with a skewer.
5. Cool in the tin for 5 mins before transferring to a wire rack to cool completely.
6. To make the chocolate icing, finely chop the chocolate and put into a heatproof bowl with the icing sugar.
7. Place the coconut cream into a small saucepan over medium heat and bring to the boil. Remove from the heat and pour it over the chopped chocolate and let stand for 5 mins, then whisk until combined and smooth. If there are still some lumps, add a tiny amount of water to the saucepan  and place on the heat putting the bowl on the top to heat up. Stir as it warms.
8. Spread the cake with the warm icing, sprinkle with coconut and place into the fridge for 30 mins before slicing to serve. Or serve straight away if you just can't wait, like me!


Friday, 10 April 2015

Lamingtons

Lamingtons. We love them. Really love them. An iconic Australian cake, and popular with most Aussies.

In our house here in the UK, they are simply our favourites. I always have the idea to make a batch, keep a couple out to eat, and then freeze the rest so we can enjoy them for longer. It rarely happens as we just can't resist them!

Anyway, I am going to give you two cake recipes here - choose the one that suits you the best; they both make good lamingtons but one makes them egg and dairy free (& soya free if needed too) and the other is a standard sponge using egg and butter.
Regardless of the recipe you choose, the procedures are still the same.

Lamingtons
Makes approximately 20 cakes

Vanilla Cake


Ingredients:
150g butter, softened
200g caster sugar
125g plain flour
250g self-raising flour
1/2 tsp baking powder
1/4 tsp bi-carb soda (baking soda)
3 large eggs
2 tsp vanilla extract
200ml milk

Method:

1. Preheat the oven to 160 deg C and then line the bases of a 20 cm x 30cm tin with baking parchment.
2. Cream the butter and sugar until light and fluffy - this will take about 10 minutes so that it is very pale. This adds essential air into the mixture. Sift the flours, baking powder and bi-carb of soda together into another bowl
3. Add the eggs, one at a time into the mixture, beating well after each one. Adding a spoonful of the flour mixture helps prevent curdling.
4. Once all the eggs are incorporated, add the rest of the flour and mix gently until it is all just combined.
5. Pour in the milk and vanilla and mix slowly until it forms a batter consistency.
6. Gently measure equal amounts into the two tins, flatten it out very carefully and then cook for 20-25 mins. Check they are cooked by lightly touching the top- it should spring back. You can also insert a probe - if it comes out clean your cake is cooked.
7. Remove cakes from the oven and allow to cool slightly in the tins. Tip out onto a baking rack to cool completely.


Egg/Dairy Free Cake

Ingredients:
1 1/2 cups self raising flour + 2 heaped tablespoons
1 cup caster sugar
pinch salt
1/3 cup vegetable oil
1 teaspoon vanilla extract
1 teaspoon white vinegar
1 cup water

Method:
1. Preheat oven to 150 degrees celsius. Grease and line a 20cm x 30cm tin with parchment paper.
2. Sift dry ingredients together.
3. Add wet ingredients and mix on high until smooth. Pour into the tin.
4. Bake for 20-25 mins or until a skewer comes out clean.


For both cakes, cool completely and then cut into 4cm x 4cm squares (approximately).

Coating

3 cups icing sugar (powdered sugar), sifted
3 heaped tablespoons cocoa powder, sifted
1/2 cup milk (or soya/coconut/almond milk - any non dairy milk if choosing that option)
50 g unsalted butter (or dairy free alternative)
2 cups desiccated coconut - use 1 cup at a time.

1. Sift icing sugar and cocoa into a medium sized bowl.
2. Warm the milk gently in a small saucepan and add the butter. Stir until melted.
3. Add to the icing sugar and stir thoroughly to remove all lumps. The chocolate mixture should be runny - you might need to add more milk to make it thin enough to coat the cake without running off the sides completely. This takes a bit of trial and error to get right. You might need to try a cake square to gauge the consistency and adjust accordingly. If it is too runny, add a small amount of sifted icing sugar to thicken it. Be careful, only use a small amount at a time.
4. Using two forks, dip a cake square into the chocolate mixtures, coating completely. Lift and allow excess chocolate sauce to drip off the cake, then roll in the coconut, coating thoroughly on all sides.
5. Place onto a wire cooling rack - place some baking paper underneath to catch any drips. If your coating is too thick, you'll get more drips than if it is thinner and the excess has run off before adding the coconut.
6. Repeat for all cake squares.


Lamingtons are best eaten after being allowed to rest and set for at least 4 hours or preferably overnight.


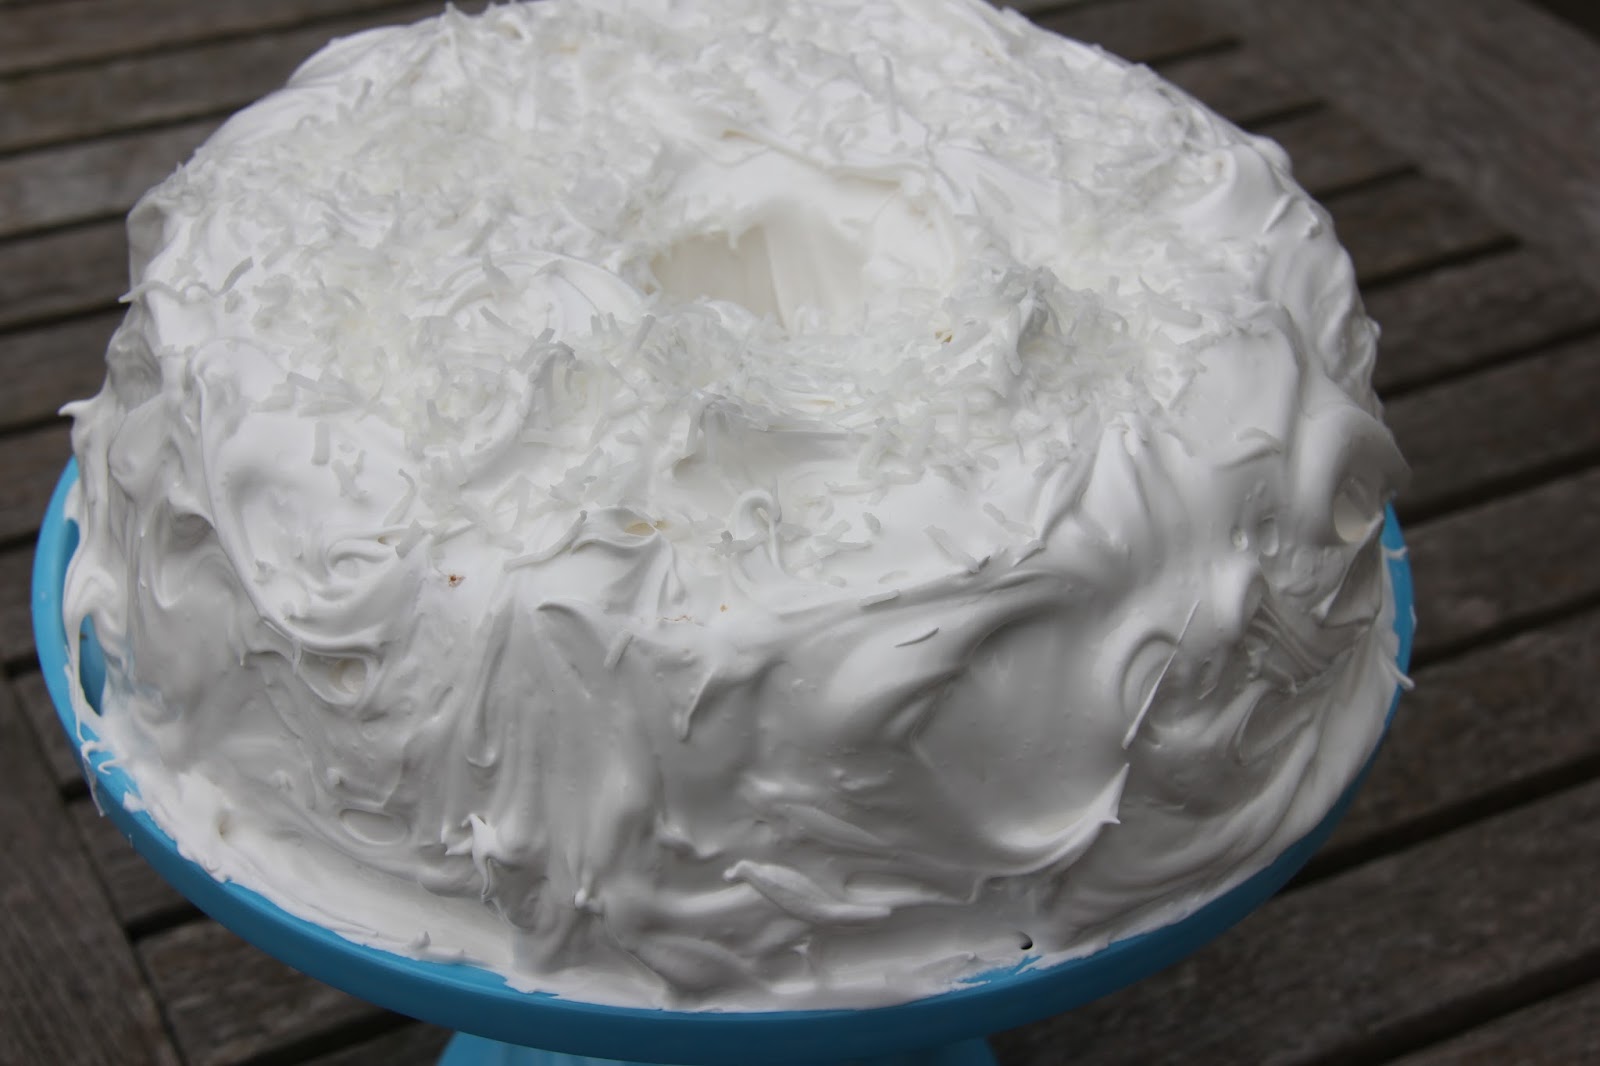
This week I made one giant lamington cake for my husband -same principle but coating in chocolate required me to use a tray to soak it in the chocolate sauce. I made it a bit too runny, so the chocolate coating wasn't as thick or as sweet as it should have been.


This one is made with the vanilla cake recipe.

This is the vegan (egg and dairy free) cake.

These are an incredibly popular cake - I highly recommend giving them a go!


Kris x

Monday, 6 April 2015

Marshmallow Bunnies


This is my final Easter bake for this year - sadly, as I love Easter baking. This is a recipe we have made for the last few years, and my son and I love making it together. This marshmallow recipe doesn't require any boiling sugar, so it's much simpler and safer with children. The resulting marshmallow is really light and fluffy - YUM!

I have had the large mold for years, but I had to source the small baby bunnies through eBay Australia - they weren't available anywhere else!

The marshmallow stores well for quite a while, so no pressure to eat this in one day!

Marshmallow Bunnies

Ingredients:
2 cups caster sugar
1 cup water - boiling
2 tbsp Gelatine
1 tsp Vanilla Extract
2 cups desiccated coconut (unsweetened)
pinch of salt
Green food colouring

Method:
1. Dissolve the gelatine in the boiling cup of water.
2. In an electric mixer - add the sugar to a clean bowl, and pour in the gelatin mixture.
Beat on the highest setting for approximately 10 - 15 minutes or until the marshmallow is really thick and white.
3. Add the vanilla and the pinch of salt to the mixture while it is still beating.
4. Meanwhile use a spray oil to grease your bunny molds and a lamington tray (square or rectangular tray about 20cm x 20cm or similar). I would line the tray with parchment paper and oil that.
5. Spoon the mixture into the bunny molds, make sure you try and press the marshmallow into all the nooks and crannies.
6. With a smooth knife make the marshmallow flat on top and place the molds in the fridge for about an hour.
7.  To do the grass, add a small amount of green food colouring to the remaining marshmallow, and beat it in until it is evenly coloured. Scrape into the tray and flatten the top with an offset spatula to make the top flat and even. Chill in the fridge for an hour.
8. While the marshmallow sets, take half the coconut and place into a ziplock bag. Add a couple of drops of green food coloring and massage the coconut so that it becomes green too. It happens easily, and will be a little patchy but I think that adds to the charm.
9. Cut the set marshmallow into squares using a hot knife, and toss into the green coconut to coat all sides.
10. Gently remove the marshmallow bunnies from the moulds, cover in plain coconut and place gently on the grass. the coconut will adhere to the bunnies easily, just pat it on.
11. Using a cotton bud or end of a match/toothpick, dip in food colouring and colour the ears, eyes and nose. If you prefer, you can do they face/ears before adding the coconut - I haven't done it this way but it may be easier than colouring the coconut as well.
12. Keep covered until ready to eat.


An alternate bunny from another year


Tuesday, 10 February 2015

Toasted Coconut and Lime Bundt Cake


So I gave in and bought myself the proper Nordic Ware heavy duty Anniversary tin recently - bought here.  I can't rave enough about these tins, they just cook like a dream and produce perfect cakes. Anyway I needed to make a coupe of cakes for a meeting last night and I found his recipe from one of my favourite Bundt bakers, Brooklyn Homemaker. You can find his original recipe here. I changed the recipe a bit, see my version below. 
It was really delicious - I highly recommend it.


Toasted Coconut Lime Bundt Cake
Adapted from the Brooklyn Homemaker recipe
Servings: 12 to 16

Ingredients:
  • 3 cups shredded sweetened coconut
  • 1 cup butter (250g) softened
  • 2 1/2 c caster sugar (granulated)
  • 4 - 5 limes (you need to get 1/2 cup of juice)
  • 3¼ cups plain (all-purpose) flour
  • ⅓ cup corn flour
  • 1 teaspoon baking powder
  • 1 teaspoon salt
  • 1 teaspoon vanilla extract
  • 1 teaspoon coconut extract
  • 6 large eggs
  • 1 (13.5 oz) can unsweetened coconut milk

Glaze:
  • 2 cups icing sugar
  1. Preheat oven to 180deg C. Grease and flour a 10 to 12 cup bundt pan.
  2. Spread shredded coconut in an even layer on a sheet pan and toast until golden and fragrant, about 10 minutes. Check every few minutes and stir around if necessary to promote even toasting and prevent burning.
  3. Zest and juice the limes. Reserve the juice and add the zest to the bowl of a stand mixer along with the softened butter and sugar. Cream on high speed until light and fluffy, about 3-5 minutes.
  4. In a medium bowl, whisk together the flour, corn flour, baking powder and salt.
  5. With the mixer on low add the eggs, one at a time, along with the vanilla and coconut extract, scraping down the sides of the bowl after each addition.
  6. In a small bowl, measure out and mix together 1 1/2 cups coconut milk and 1/4 cup lime juice. Reserve the remaining coconut milk and lime juice for the glaze. With the mixer on low, alternate additions of flour and coconut milk, starting and ending with flour.
  7. Scrape the sides of the bowl and stir in 2 1/2 cups of the toasted coconut. Reserve remaining coconut for garnish. Pour the batter into the prepared bundt pan and level the batter with a spatula.
  8. Bake in the center of the oven for about 60 to 65 minutes or until a cake tester inserted in the middle comes out clean. Cool the cake for 30 minutes, then turn out onto a cooling rack and cool until room temperature.
For the glaze:
  1. While the cake is baking, combine the remaining 1/4 cup lime juice and 1/4 cup coconut milk in a small saucepan. Warm gently.
  2. To make the glaze, strain the coconut lime through a fine mesh strainer into a small bowl. Whisk in icing sugar until smooth and free of lumps. Drizzle the glaze over the cooled cake and immediately sprinkle with remaining 1/2 cup of toasted coconut.


Sunday, 11 January 2015

Marshmallow Coconut Funfetti Cake


I have been asked to blog this recipe after I added it as my profile picture on facebook...it was such a fun cake to make and I was so excited with how well it turned out. I took the idea from Donna Hay in one of her children's magazines, but changed it slightly to suit my tins and purpose. This was made as one of my entries into my work 'Great British Bake Off' style competition. This one didn't place - not sure why as I thought it was fab! Hehehe....My chocolate orange macarons came second though!
 
One of the things I love about making marshmallow is the transformation from a nothing kind of substance, to pure white fluffy marshmallow within minutes. It's remarkable!
 
Anyway, the original recipe makes this as one big cake, but I did it as two mini cakes instead as I have some great little springform tins that I wanted to use. I'll write it up as one large cake, but do adjust and feel free to play around with sizes like I did.
 
Note: This is a different method to making marshmallow than I have used in other recipes and it makes a slightly softer marshmallow, much better for cutting through and serving (and there is no need for a candy thermometer!)
 
 
Marshmallow Coconut Funfetti Cake
 
Ingredients:
2 tablespoons desiccated coconut
1 1/2 cups (330g) caster sugar - superfine sugar
1 1/2 cups (375ml) water
3 teaspoons gelatine powder
2 teaspoons vanilla extract
1/2 teaspoon coconut extract
pink food colouring
 
Biscuit base
150g plain biscuits - I used rich tea, but any plain or shortbread biscuit will do (actually if you used a chocolate biscuit you would get a Neapolitan look with the layers!) 
60g unsalted butter, melted
2 tablespoons coloured sprinkles
 
Method:
1. Line the base and sides of a lighted greased 20cm springform tin with non-stick baking paper and set aside.
2. To make the biscuit base, place the biscuits in a food processor and process until the mixture resembles coarse breadcrumbs. Add the butter and process until combined.
3. Stir through the sprinkles, and using the back of a spoon, press the mixture over the base of the prepared tin. Refrigerate for 30 mins or until firm.
4. Lightly grease the lined sides of the tin and sprinkle generously with the coconut. Refrigerate until ready to use.
5. Place the sugar, water, gelatine and vanilla in a medium saucepan over medium heat and cook, stirring, until the sugar is dissolved. Bring to the boil and cook for 4-5 mins. Allow to cool completely.
6. Place the cooled mixture and coconut essence in an electric mixer and whisk for 5-6 minutes or until thick and fluffy.
7. Spoon half the marshmallow mixture into the prepared tin and spread evenly.
8. Add a few drops of pink food colouring (start lightly -you can always add more) and whisk until well combined. Spoon over the first marshmallow layer and spread evenly.
9. Refrigerate for 1-2 hours until set. Carefully remove from the tin and serve.
 
10. For the sprinkles on top, you have two choices. Add them before refrigerating and they will stick well, but will go soft and not be crunchy when serving - still tastes good though. Or wait until just before serving and you will add some nice crunchy texture to this cake.
 
TIP: This cake can be kept refrigerated overnight.
 
You can see my macarons in the background too!


Sliced!


Tuesday, 6 January 2015

Chocolate Marshmallow Slice


This is one of my all time favourite recipes and one I can make quickly. I got the original recipe from my very dear, dear Aunt, who was my most favourite person in the whole world, and more like a mother to me than an aunt. I have tweaked it slightly, but the basics are the same. I think of her every single time I make this, when I refer to the recipe I typed up about at her house about 24 years ago.

It's a such a popular slice and I urge you to have a go and make it.


Chocolate and Marshmallow Slice

Ingredients:
Base
1/c caster sugar
1 c desiccated coconut
1 c self raising flour
2 dessert spoons cocoa
125g butter, melted - by the way I used Stork block and made it dairy free for my son.

Topping
1 large bag of marshmallows (I use Sainsbury's family sized bag)
Extra coconut to sprinkle of top

(Note: you could use homemade marshmallow which would be even nicer, but not as fast)

Method:
1. Pre-heat the oven to 180deg C, and grease and line a 20cmx20cm tray with baking parchment.
2. Combine the dry ingredients in a medium bowl.
3. Add the melted butter and mix to combine all ingredients - the mix will be like wet sand.
4. Press this into the tray - I roll over the mix with small glass tuned on its side to compact it.
5. Bake for 15 mins. Remove from oven and roll the glass over it again to flatten the base as it does rise slightly.
6. Once the base is out of the oven, put all the marshmallows into a bowl and melt in the microwave in 30 second increments. Check after each 30 seconds. Once melted, move quickly to pour on top of the warm chocolate base. The marshmallow starts to set quickly, so work fast. Using an oiled spatula will help. Don't worry if you don't use every bit of marshmallow - just use as much as will come out quickly.
7. Quickly sprinkle with coconut then cover and refrigerate for an hour or more to set.
8. When cutting this up, move it on to a board and peel the sides away. I have a bag of icing sugar/cornflour mix that I use for coating marshmallows, and I dip my knife into this, which helps to cut without sticking, but before I had this, I used to dip the knife in a glass of water and then cut - it helped.

This can be stored in an airtight container in or out of the fridge for up to a week - if it lasts that long.

Variations:
You can also top this with chocolate icing and coconut, a traditional Australian slice.

Thursday, 25 December 2014

A Dairy Free Christmas


Merry Christmas to all my loyal followers. It's been fun setting up this blog and I'm happy that I am slowly gaining more followers each week. I've only been doing this since August, so feel free to spread the word!
 
Well, what a lovely Christmas Day we have had. Very relaxed, good food and good company. Today's blog post is for my Chocolate and Coconut Bundt Cake, which I served as our Christmas pudding, since none of us are fans of the traditional mixed fruit pudding.
I took this recipe from Brooklyn Homemaker's Chocolate Peppermint Bundt cake, but since my son doesn't like peppermint, I altered it to a coconut flavour instead. I will admit, I loved the sound of the original, but I love all things mint, so it's to be expected.
 
Anyway, I made some slight adaptions to the recipe to make it dairy free, so I will post it below, but you can click the link above to see the original.
 
Today I used my new NordicWare Heritage Bundt Pan, which I only bought last week. I was so very pleased that the cake came out so cleanly. I just love it!
 
 
 Chocolate Bundt Cake with Dark Chocolate and Coconut Ganache
 
For the Cake:

1 1/4 cups water
3/4 cup cocoa powder
2 1/4 cups sugar
1 1/4 teaspoons salt
2 1/2 teaspoons baking powder(or bi carb soda if using buttermilk)
2 whole eggs
1 egg yolk
1 1/4 cups soya milk (or buttermilk if you can have dairy)
1 cup sunflower oil
1 1/2 teaspoons vanilla extract
2 3/4 cups plain (all-purpose) flour, sifted
 
For the Coconut and Dark Chocolate Ganache:

 200g best quality dark chocolate, chopped (I used Sainsbury's dark cooking chocolate as it is dairy free)
 3/4 cup coconut milk
 Desiccated coconut to sprinkle on top
 
 
1. Place an oven rack in the centre of the oven and preheat to 180 degrees C.
2. Liberally butter and flour a 10 to 12 cup Bundt pan and set aside.
3. Whisk water and cocoa powder in a small saucepan and bring to a boil, whisking frequently. Remove from heat and let come to room temperature.
4. In the bowl of a stand mixer with a whisk attachment, mix together sugar, salt, baking soda, eggs and egg yolk on low for just one minute. Add the milk, oil and vanilla extract and mix on low again for another minute.
5. Add the flour and mix on medium speed for 2 minutes more.  Add the cooled cocoa mixture and mix on medium speed for 3 minutes. The batter will seem quite loose and liquid.  Pour into the prepared cake pan and bake for 55-65, or until a cake tester or toothpick inserted in the cake comes out clean.
6. Let the cake cool completely in the pan and then invert onto a cooling rack. Once cooled I trimmed off the top to make it level once inverted.
7. To make the ganache, heat the coconut milk in a heavy pot, just until it begins to simmer. Remove from the heat and add the chocolate. Let the chocolate melt for a minute or so, then whisk to combine.
8. Drizzle ganache over the cake while it’s still warm and liquid. Sprinkle desiccated coconut over the ganache.
9. Let the ganache set for at least 30 minutes before slicing.
10. We served with hot custard....soooo good!


Monday, 15 September 2014

Coconut "Bounty" Macarons

 
I'm on a run with macarons at the moment and I was keen to try some coconut ones - it's one of my most favourite flavours, and I will add coconut to anything I can! In the process of preparing to make ganache to fill them, I thought I would try making it with coconut milk instead of traditional cream. It has made such a light, silky filling, and utterly delicious!
I highly recommend using it as a substitute for cream in a variety of dishes.
 
When thinking about the filling, this is where I planned to add the coconut flavour. So I thought I would try and recreate one of my favourite chocolate bars, the Bounty. I used milk chocolate, some drops of coconut essence and after the coconut milk, I also added some desiccated coconut. Surprisingly, it has a distinct coconut flavour but it's not too overpowering.
Shredded coconut on top as the macarons dried, added texture and colour to the shell.
 
Bounty Macarons (milk chocolate and coconut)
 
 
Ingredients:
 
100 grams ground almonds (I actually use about 110g to then allow for large bits that can't be sieved)
100-110g egg whites (about 3 egg whites)
185g icing (powdered) sugar
4 tablespoons caster sugar

Ganache:
200g milk chocolate, finely chopped
5-6 drops coconut essence
150mls full fat coconut milk
2 Tablespoons of desiccated coconut

 
 Method:
 
  1. Preheat the oven to 140° C.
  2. Push the ground almond through a sieve to get rid of any large pieces or lumps.
  3. Mix the icing sugar and cocoa powder together with the ground almonds in a food processor. I do this twice - sieve, food processor, sieve, food processor.
  4. In a large bowl, whip the egg whites with a hand- or stand mixer. As the egg whites start foaming, add the sugar one tablespoon at a time and continue whipping until the mixture is glossy and stiff. You should be able to hold the bowl upside down without the meringue sliding out.
  5. Fold the dry mix carefully and slowly into the meringue, use a spatula. Don't over mix! You want the mixture to fall off the spatula like lava.
  6. Fill your piping bag and pipe the macarons onto a baking sheet. Sprinkle shredded coconut on top. Carefully tap the baking sheet on a hard surface such as a table to get all the air bubbles out. Let them set for 60 minutes to form a dry skin.
  7. Bake for about 14-16 minutes. Let cool completely, then fill with piped chocolate ganache and sandwich them together.
Ganache:
  1. Finely chop the chocolate. Add the coconut essence.
  2. Heat the coconut milk in a small saucepan on a low to medium heat until it begins to bubble and steam. You want it to be hot enough to melt the chocolate easily.
  3. Pour the coconut milk over the chocolate in a heatproof bowl, stir slightly and allow to sit for a few minutes.
  4. Whisk the chocolate and milk mixture until it becomes smooth and silky. If there are still lumps of chocolate you can place the bowl over a saucepan is simmering water to reheat and melt further. Add the desiccated coconut and stir in.
  5. Pour the melted mixture into a flat pan and place in the fridge to chill. Cover with cling film to avoid a skin forming.
I found the ganache didn't set as much as I has expected so I have reduced the coconut milk measurements slightly for you. I also whipped the ganache up using a hand mixer prior to piping it onto the shells.

Macarons taste best after they have developed their flavours for 24hrs in an airtight container in the fridge. Remove for about an hour prior to serving. Or if you are like me and can't resist, they do still taste good straight form the fridge!!